
How to Do Colony PCR: A Step-by-Step Guide for Beginners
Skip the miniprep. Colony PCR tells you which colonies carry your insert in about three hours — if you avoid the two mistakes that kill it.
Quick answer
Colony PCR screens bacterial colonies for your plasmid insert without a miniprep: a dab of colony goes into a PCR tube. Streak an index plate to never lose a positive, then a 25 µL reaction (12.5 µL 2X master mix, 0.5 µL of each 10 µM primer). After 30 cycles and a gel, bands at insert size mark the winners.
My first cloning week, I miniprepped 48 colonies — two evenings of work — because nobody told me about colony PCR. Lab forums show the same story every week: beginners spending days on miniprep for a question a three-hour PCR could settle. Colony PCR runs PCR directly on a dab of colony, turning screening from a chore into an afternoon.
What Is Colony PCR?
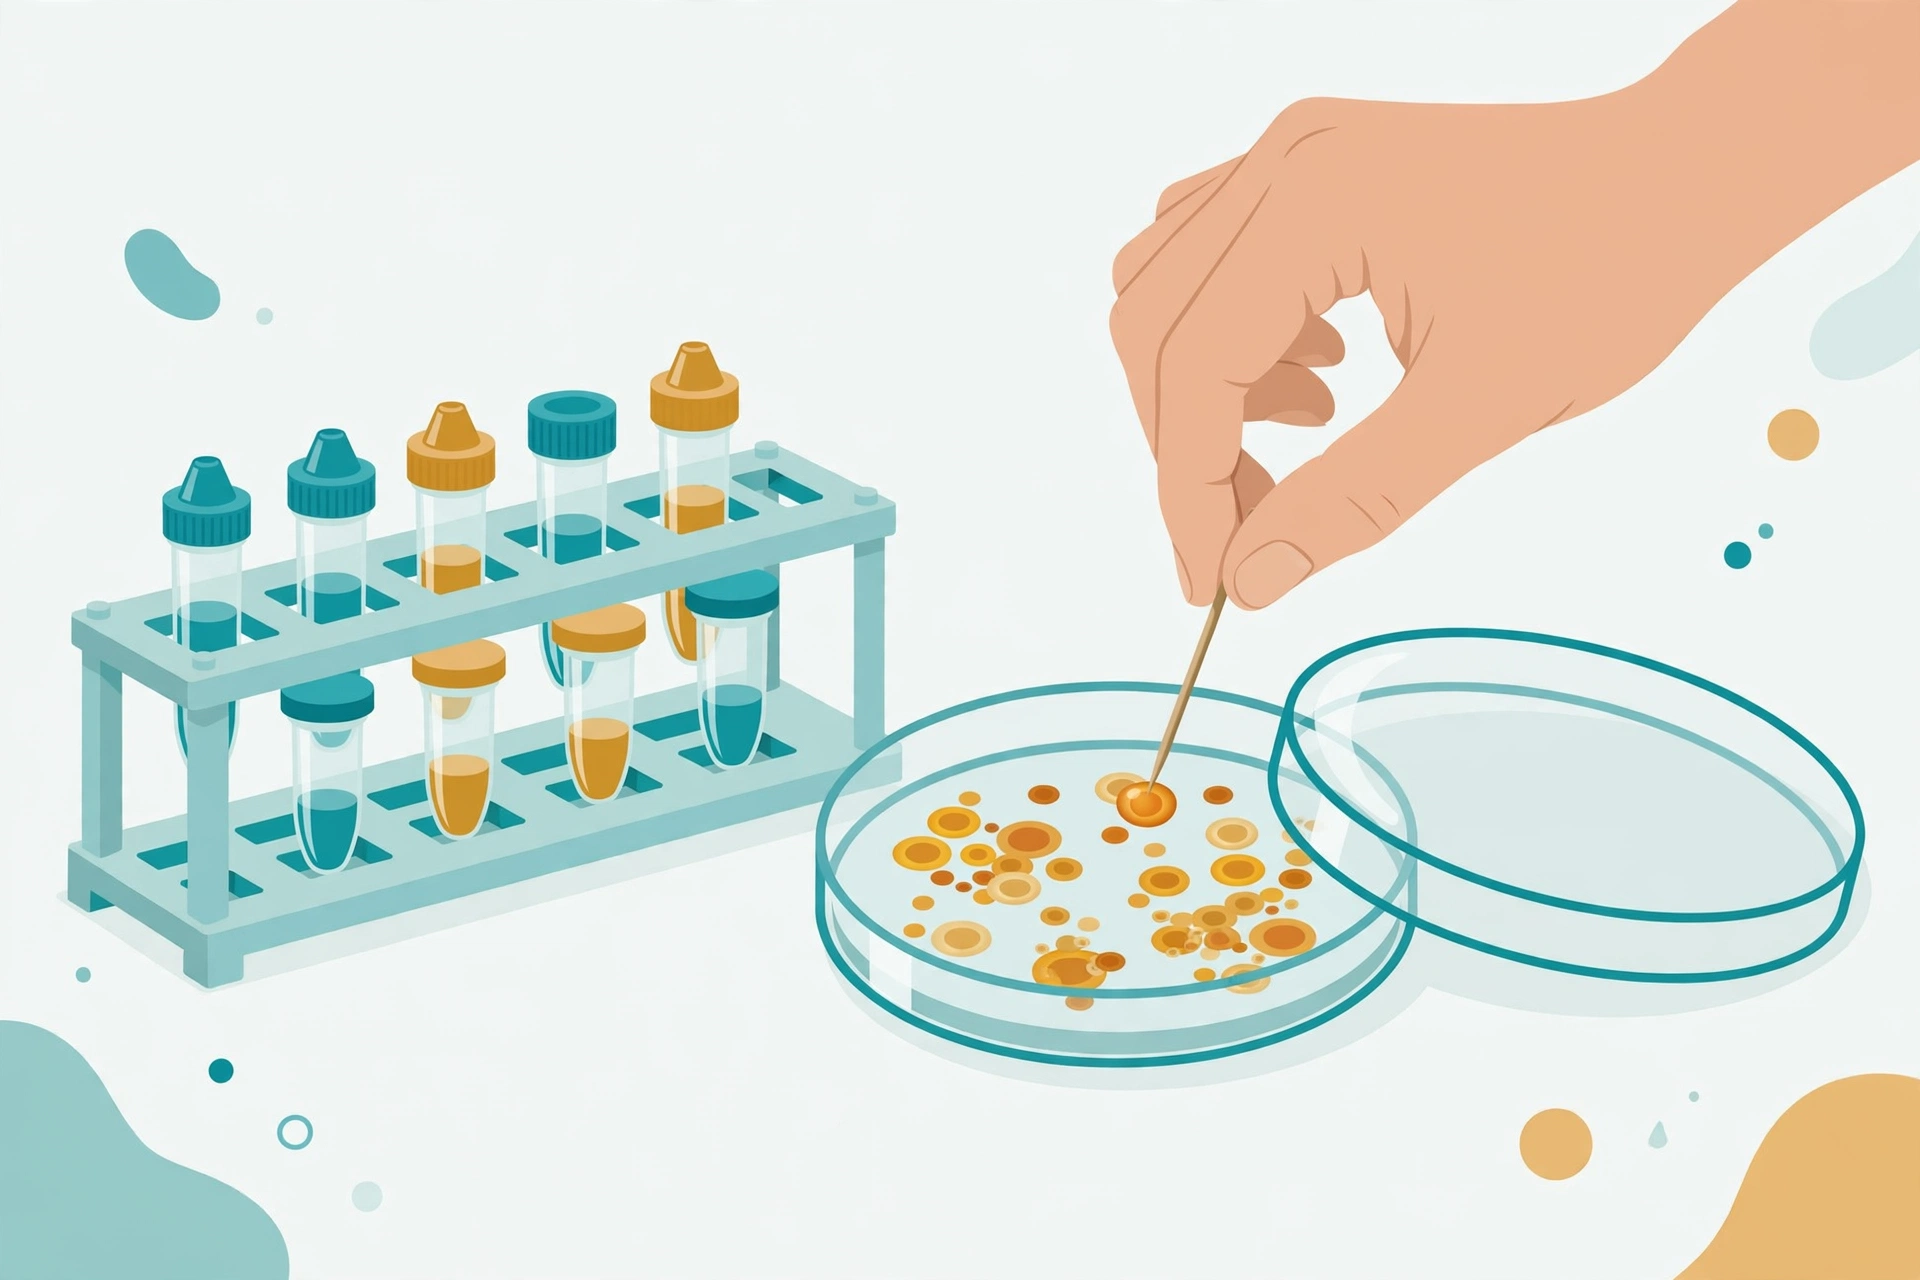
To check whether your plasmid insert made it into a bacterial colony, the old way is: grow the colony overnight, extract the plasmid (a miniprep), and run it on a gel. Colony PCR skips all that. You touch a sterile toothpick to the colony, swirl it in a PCR tube, and the thermocycler's 5-minute 95 °C step bursts the E. coli cells open, releasing the plasmid DNA into the reaction. Twenty to fifty colonies screened in one afternoon — you miniprep only the ones that pass.
The 25 µL Recipe (With Worked Numbers)
The standard recipe uses a 2X Taq master mix — GoTaq, OneTaq, whatever your lab stocks:
| Component | Volume | Final |
|---|---|---|
| 2X Taq master mix | 12.5 µL | 1X |
| Forward primer (10 µM) | 0.5 µL | 0.2 µM |
| Reverse primer (10 µM) | 0.5 µL | 0.2 µM |
| Bacterial colony | a dab on the tip | — |
| Nuclease-free water | to 25 µL | — |
Primer maths: 0.5 µL of a 10 µM stock into 25 µL gives 0.2 µM final — get working stocks right with our primer dilution guide first. And make the master mix before adding colonies: cells are the dirtiest part of this protocol.
Step-by-Step Protocol
- Streak an index plate first. The trick beginners miss: before the toothpick goes in the tube, streak it on a fresh LB plate in a labelled grid. The PCR destroys your sample — the index plate keeps colonies alive so you know which is which.
- Bulk master mix. Scale the recipe to (colonies + 2) for pipetting loss. Keep it on ice.
- Aliquot 24 µL per tube, labelled to match the index plate.
- Pick lightly. Barely touch the colony with a sterile toothpick — you want a faint dab. A visible chunk will poison the reaction.
- Swirl 5 seconds and discard the tip. Don't drop it in — it just adds agar.
- Add controls: a no-template control and, if available, an empty-vector colony.
- Cycle: 95 °C for 5 min (lyses the cells), then 30 cycles of 95 °C 30 s → annealing 30 s → 72 °C 1 min/kb, ending 72 °C 5 min. Set annealing from your primers' Tm — see our annealing and Tm guides.
- Run the gel (1% agarose is fine) and read it as below.
Which Primers Should You Use?
Vector-flanking primers — universal ones sitting either side of your cloning site, like M13 forward/reverse or T7 — make gel reading a one-glance job:
| What you see | What it means |
|---|---|
| Short band (~100–200 bp, just the cloning site) | Empty vector — plasmid but no insert |
| Longer band (cloning site + your insert) | Winner — carries the insert |
| No band | Failed reaction, not a negative — repeat it |
Insert-specific primers work too, but a failed reaction then looks exactly like a negative. When screening, ambiguity is the enemy — use the flanking primers.
The #1 Mistake: Too Much Colony
No bands or ugly smears? Nine times out of ten, the problem is a grain-of-rice-sized chunk of colony in your tube. Agar, cell debris, and inhibitors shut down Taq. The rule: if you can see a chunk on the tip, it's too much — a faint touch carries millions of plasmid copies.
Still failing with light picks? Extend the initial denaturation to 10 minutes, and run a purified-plasmid positive control — if that works, your primers and reagents are fine and the picking is the problem. Our no-bands guide and non-specific amplification fixes cover the other failure modes.
Reading the Gel (and What Comes Next)
A correct-size band means the insert is there — but hear this: colony PCR confirms insert size, not sequence. A mutation or frameshift looks identical on a gel. Miniprep one or two positives and Sanger-sequence them. Colony PCR doesn't replace sequencing; it just means you only sequence the clones worth it.
Key takeaways
- Colony PCR screens colonies in ~3 hours — streak an index plate first so you never lose a positive.
- Standard recipe: 12.5 µL 2X Taq master mix, 0.5 µL of each 10 µM primer, a dab of colony, water to 25 µL.
- If you can see a chunk on the tip, it's too much — it inhibits Taq and kills the reaction.
- Vector-flanking primers (M13/T7): short band = empty, long band = insert.
- Always Sanger-sequence a positive clone — size is not sequence.
Frequently Asked Questions
What is colony PCR?
PCR run directly on a dab of bacterial colony to check whether it carries your plasmid insert. No miniprep — same-day answer.
Do I have to boil the colony before PCR?
No. The 5-minute 95 °C step lyses E. coli inside the cycler. Pre-boiling is only a rescue step if reactions keep failing.
Why is my colony PCR showing no bands?
Almost always too much colony inhibiting the polymerase — pick less. Check primers and reagents with a purified-plasmid positive control.
Can I skip sequencing if colony PCR is positive?
No. It confirms insert size, not sequence. Sanger-sequence at least one positive clone to catch mutations and frameshifts.
Check your primers' Tm with our free Tm calculator before you start. The other protocol guides — BiologyInsights' walkthrough and the OpenWetWare lab protocol — agree on the basics; this guide fills in the beginner traps they skip.