
How to Fix Smeared Bands in PCR
A smear is not a failed experiment — it is a clue. Read where it sits, and it usually tells you exactly what went wrong.
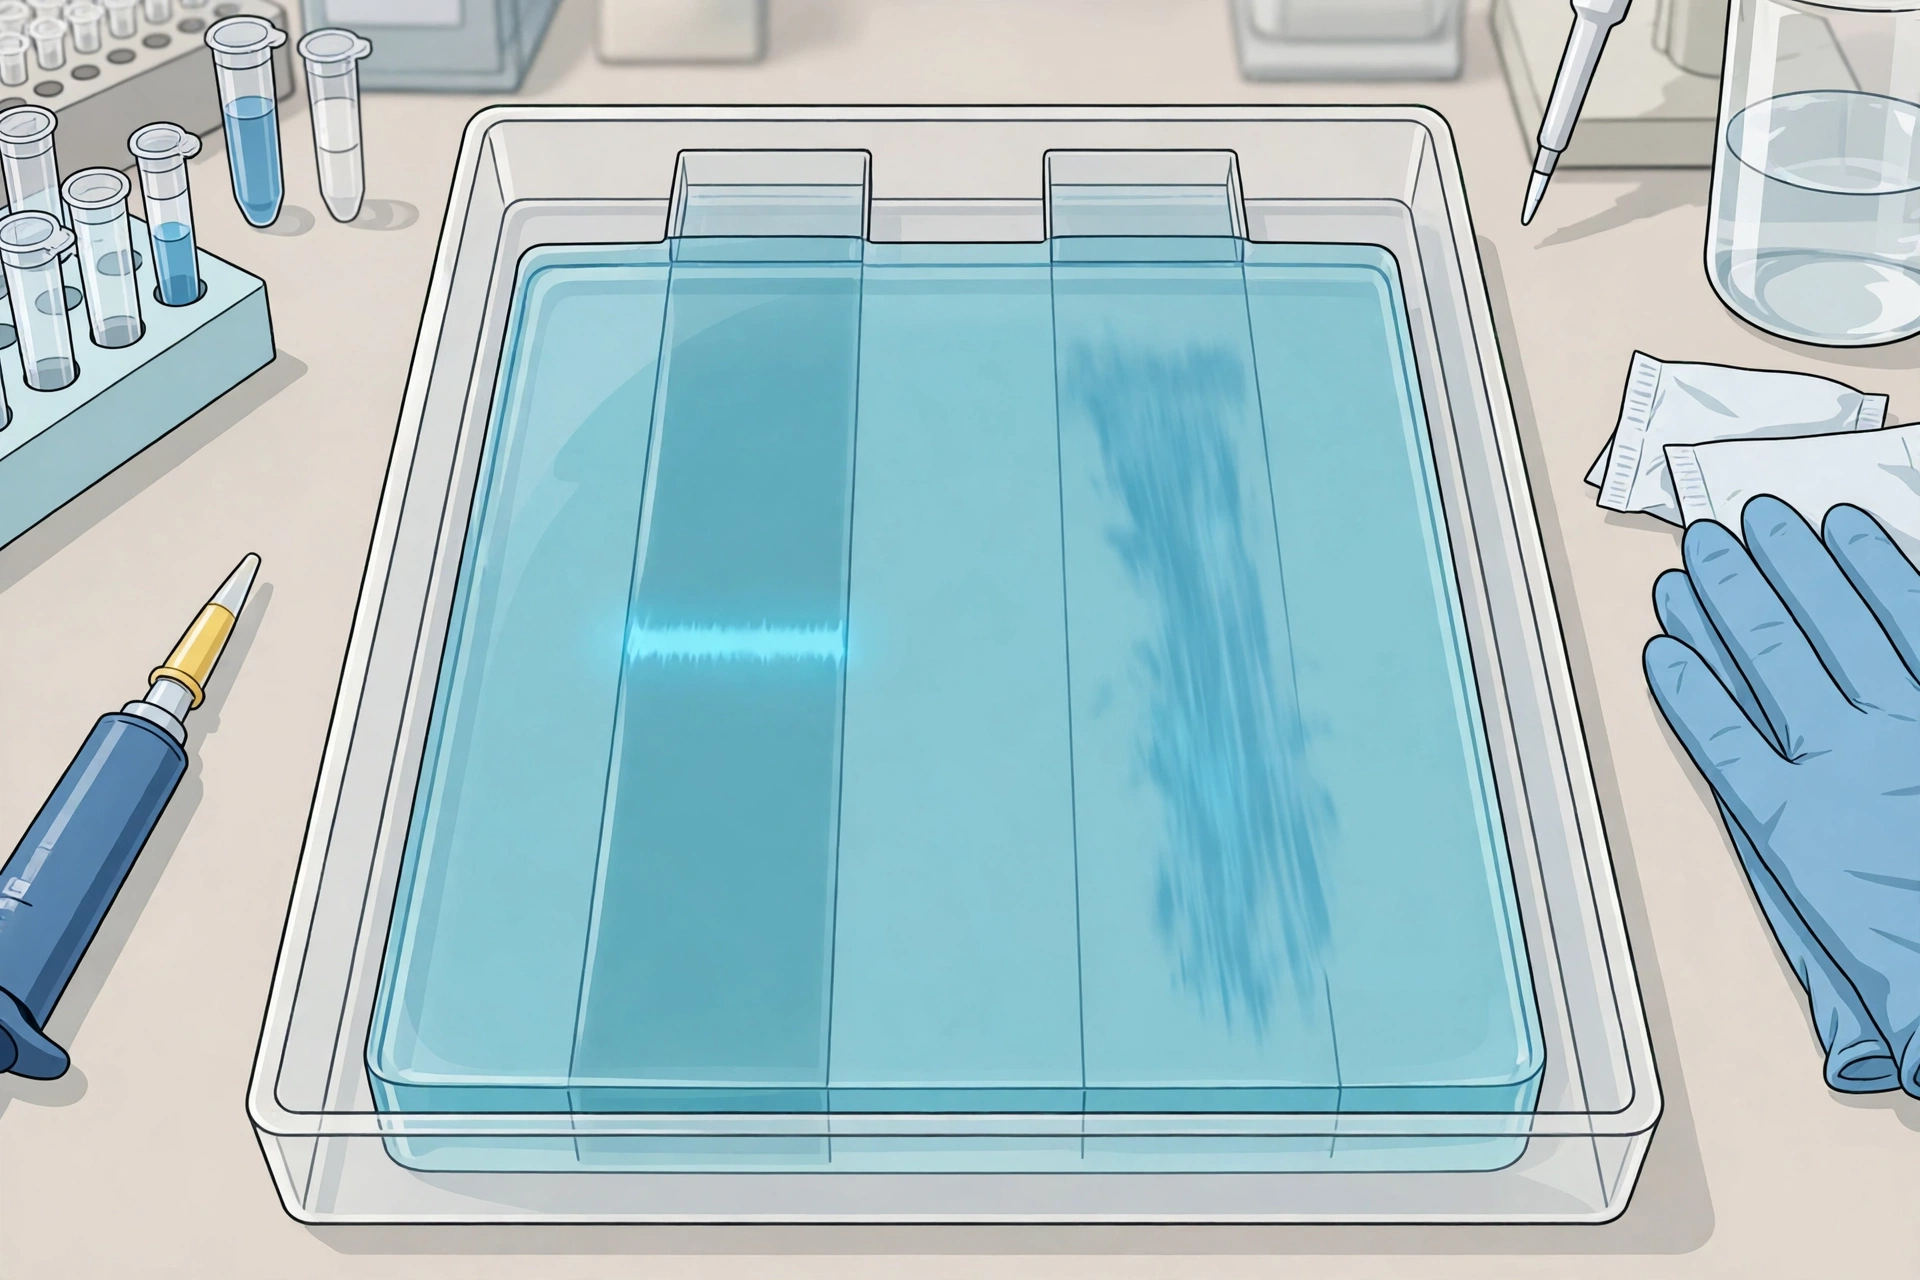
Quick answer
Smeared PCR bands are usually caused by too much template DNA, too many cycles, or an annealing temperature set too low. Fix them in this order: dilute the template, cut 5 cycles, and raise the annealing temperature by 2–3 °C. If the no-template control is smeared too, replace your reagents — that points to contamination.
What Does a Smeared Band Actually Mean?
A smeared band is a streak of DNA spread down a gel lane instead of one sharp, tight line. A clean band means your PCR made mostly one product, all the same length. A smear means it made a mixture — products of many lengths, broken-apart DNA, or so much product that it overloaded the lane.
Here is the thing: the smear itself is rarely the problem. It is the symptom. We see this question in lab forums every week, usually with a photo and the words "what went wrong?" The answer is almost always one of a handful of causes — and the pattern on the gel narrows it down fast.
Read Your Gel: Where Is the Smear?
Before you change anything, look at the pattern:
Smear through the whole lane, top to bottom. The classic overloaded lane — too much template, too many cycles, or both. The reaction made so much DNA, including off-target products, that the lane cannot resolve it.
Smear trailing below a strong target band. Your target is there, but something else is too — often degraded template or non-specific products. This differs from a faint band, covered in our faint bands guide.
Smear stuck in or just below the well. The DNA never really entered the gel. Suspect overloaded wells, too much salt, or degraded, gummy template — not your cycling conditions.
Smear in the no-template control (NTC). Stop. A blank control should be empty. If it smears, something in your reagents, water, or pipettes is contaminated, and no condition tweaking will fix it until you replace the culprit.
Why Does PCR Smear? The 6 Usual Causes
Work through these in order — the first two explain most smeared gels:
1. Too much template. The number one cause, and it surprises people — more DNA feels like it should help. It does not. Excess template drives non-specific priming and gives the polymerase too many places to start. For a 50 µl reaction, BiotechRabbit's endpoint PCR troubleshooting guide puts the sensible range at 0.01–1 ng of plasmid DNA or 0.1–1 µg of genomic DNA. If you are above that, dilute first and ask questions later.
2. Too many cycles. Past about 30–35 cycles, PCR stops being selective: late cycles amplify whatever is lying around, including trace off-target products. If 40 cycles smear and 30 do not, you have your answer.
3. Annealing temperature too low. Primers then bind loosely to near-matches all over the template. Our annealing temperature guide explains how to pick the right value, and a 2–3 °C rise often cleans a lane up.
4. Too much MgCl2, primer, or polymerase. Magnesium stabilises primer binding — too much stabilises the wrong binding too. Takara Bio's troubleshooting guide lists the same fixes: reduce template, raise annealing temperature, try touchdown PCR, reduce cycles, or redesign the primers.
5. Degraded or dirty template. Old DNA, repeated freeze-thaw cycles, or nuclease contamination breaks DNA into fragments of every size — exactly what a smear looks like.
6. The gel itself. Old or reused running buffer, voltage set too high, or loading too much product can smear a perfectly good PCR. If the ladder smears too, the gel is the suspect, not the reaction.
How to Fix Smeared Bands, Step by Step
Do not change five things at once — you will never know which one worked. Run one diagnostic gel like this:
Step 1 — Dilute the template. Run your usual reaction next to a 10-fold dilution. In our experience, this single change clears more smeared gels than anything else.
Step 2 — Cut the cycles. Drop from 35–40 down to 28–30. If the band sharpens up, over-amplification was your problem.
Step 3 — Raise the annealing temperature. Go up 2–3 °C, or switch to a touchdown protocol.
Step 4 — Check the gel, not just the PCR. Make fresh buffer, keep the voltage moderate (around 5 V/cm of gel), and load less product. If the ladder is sharp but your lane smears, the problem is in the reaction. If the ladder smears too, it never was.
Still smeared after all four? Then it is probably the primers. Check their specificity with our Primer-BLAST guide, and read the non-specific amplification guide before ordering a new pair — a redesign is the permanent fix.
Frequently Asked Questions
What causes smeared bands in PCR?
Most often too much template DNA, too many cycles, or an annealing temperature set too low. Gel problems — old buffer, high voltage, overloaded wells — can smear a good product.
Can a smeared PCR product still be used?
Sometimes, if the smear is only degraded template around a strong target band. If it comes from non-specific amplification, the product is a mixture — do not sequence or clone it without cleanup.
Does a smear in the no-template control mean contamination?
Yes, most likely. A blank control should be empty, so a smear there points to contaminated reagents, water, or pipettes.
How much template should I use in PCR?
For a 50 µl reaction, roughly 0.01–1 ng of plasmid DNA or 0.1–1 µg of genomic DNA. More is not better — excess template is the most common cause of smearing.